About this deal
Then, pull the two sides away from the seam. You now have a loop with a small opening along the edge. Elevate your scrunchie style with this large bunny ear variation. It's beautiful in a rayon fabric or anything with some drape to it. Scrunchies with Bows You can also make a scrunchie without sewing by substituting glue for the stitching. I recommend using a strong, fast-drying fabric glue. But, a hot glue gun would do in a pinch.
I want you to have all the possible options to make your own perfect scrunchie for yourself, so I'm adding one more option. I just know that if you haven't found yours above, this one is very likely your go-to scrunchie version. Sew along the open edge, leaving a 1″ gap (2.5cm) in the middle (where the straight part is). Sew with a 1/4″ (0.6cm) seam allowance. The raw edge should be facing the “ugly” side of the fabric, not the “nice” side. If both sides look the same, then it doesn’t matter. Then, once you’ve finished making the bow piece, tie it onto the scrunchie. And, if you are worried about the knot untying, you can secure it with a few hand stitches or a dab of fabric glue. How to Make a Scarf Bow Scrunchie
Search
Sew around the ends with a 1/4 inch seam allowance, unpin and pull through to the right sides. The end seams will be cleanly enclosed in the scrunchie.
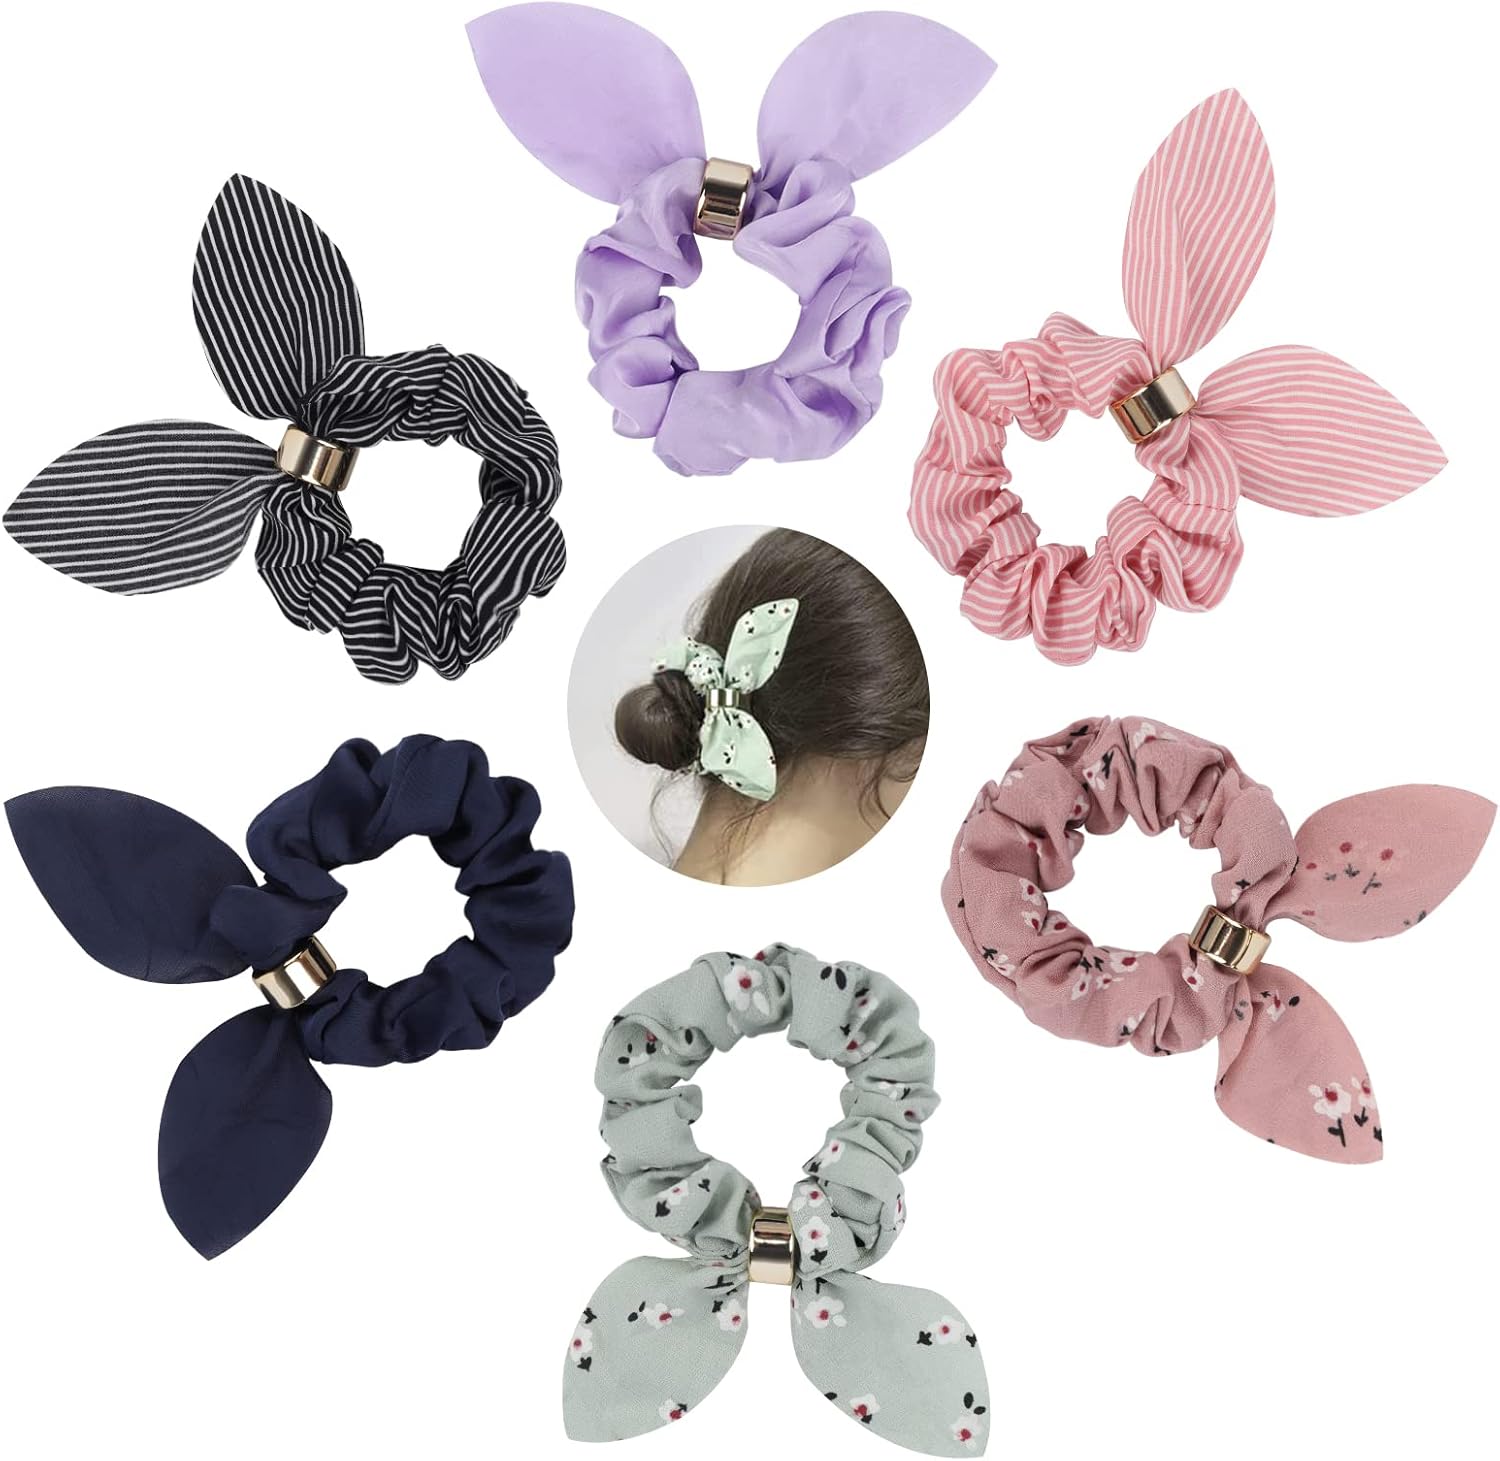
You can make this scrunchie without a sewing machine by substituting hand sewing with a needle and thread in each step that calls for machine sewing. This one is perfect if you want a scrunchie with a tail, it makes your long hair even more beautiful. And a perfect match with a beautiful dress ( these dress patterns are free!) Fashion queens, this one is yours to have! Supplies to make a Diy Bow Scrunchie, A Diy Bunny Ear Scrunchie - and all the otherS!
I was shopping with my teenage daughter a few weeks ago, and – as always – she comes up to me while I’m paying for her stuff and shows me something else she wants. That day, what she wanted was a set of hair scrunchies. I looked at them and said, “You know I can make those, right?” She had no idea I could work such magic. Sometimes my sewing skills impress her. Fold it right sides together lengthwise and sew from each narrow end towards the middle of the strip. Leave a 3" gap in the middle for turning. You can use almost any type of fabric you like, from quilting cotton to crushed velvet. Here are some things to consider: If you love scrunchies, I bet you're also gonna love my scrunchie barrette tutorial! It has the gathered fabric of a scrunchie, but on a barrette base instead of a stretchy ponytail holder. Supplies Our sustainable silk printed scrunchies are the perfect addition to brighten up your outfits. Sustainably made from fabric cutoffs to help reduce our waste and available in a range of our best-selling Lisou prints. Can be worn in a bow or with the tails loose.
PRO TIP: It helps to pin the corners together first, then fill in the remaining length of fabric with pins. Once you’ve gotten the short end to meet each other, match up the edges with the right sides together. Use pins to secure the layers. Sew with a 3/8″ seam allowance. Step 4. Turn right side out. Fold the fabric in half and pin to hold in place. Sew along the pinned edge 3″ (8cm)with a 1/4 inch seam allowance then stop sewing and leave a small opening about 2″ (5cm) wide. Thread the elastic through the scrunchie, holding both ends so it begins to gather up the fabric. Pin both ends of the elastic together. Sew these together with a few rows of stitching to secure on place. If you’re up for a little sewing project, it’s easy to make your very own custom scrunchies at home! Custom hair scrunchies are a great handmade gift idea for friends and family.
Follow
Step 1: Cut a rectangle of fabric that measures 22″ long by 3″ wide. Fold the fabric piece in half lengthwise with the right sides together. Pin in place. Once the tail end of the elastic is about to disappear into the scrunchie, use another safety pin to attach it to the fabric at the opening. You don't want to lose this tail or you'll have to start all over! Recommended Fabrics; Stretch Velvet, Quilting Cotton, Voile, Chambray, Knit, Gauze, Silk, and Rayon.
We hope this article was useful for you! If you have any additional questions, feel free to join my Facebook Group. We created this group for you to share pictures, ask questions, and help each other out. Then, once you’ve made the bow piece, tie it onto the scrunchie. I highly recommend securing the bow with a few hand stitches or a dab of fabric glue. Pull the longer scrunchie end through the seam opening and up inside the 8cm end. The tube ends should now be facing right sides together. Cut a rectangle of fabric 3” x 16”. Also cut 2 on fold of EITHER the Long Bowor Short Bow pattern pieces. Next, we have a sophisticated scarf bow that gives your scrunchie the look of handkerchief or scarf “tails”. It’s very easy to make, too.Hair scrunchies can be made in a wide variety of fabrics to match your style and your wardrobe. Each type of fabric will give the finished scrunchie a slightly different look. If you don’t have access to a printer, here are the measurements so you can draw your own: it’s 11 6/8″ (30cm) wide, 2 6/8″ (7cm) tall in the middle, and almost 4″ (10cm) tall at the highest point. 2. Fold the bow in half, sew it & leave a gap in the middle
 Great Deal